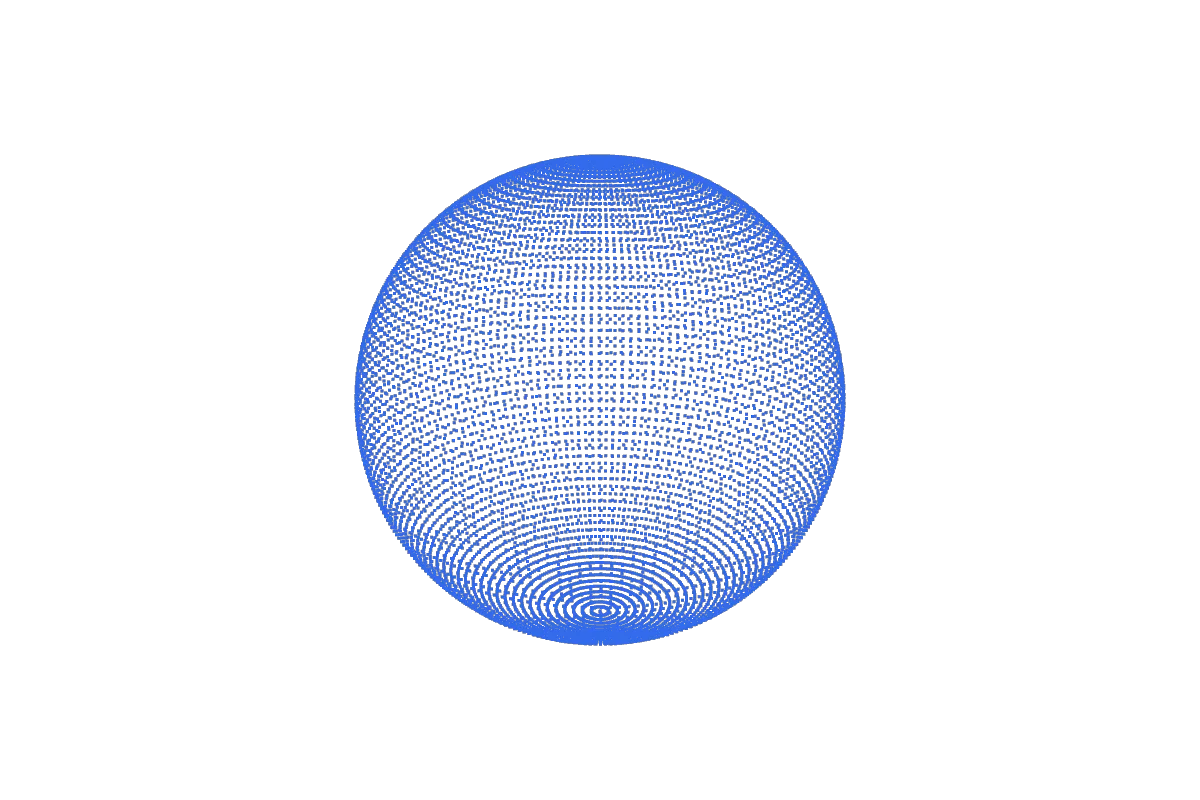
How the methods gather information
A 3D scanner may use structured light, laser measurement, depth sensing or another system to estimate spatial coordinates directly or indirectly. Photogrammetry estimates 3D structure from overlapping photographs, feature correspondences and camera geometry.
Each approach can produce a point cloud, reconstructed surface or textured model depending on the software workflow. A textured model may look convincing while containing geometric holes or incorrect dimensions.
Capture pitfalls
Shiny, transparent, very dark or featureless surfaces can be difficult for some methods. Motion blur, changing lighting, insufficient photographic overlap and occluded views can degrade results. Small details may be missing even when the overall silhouette looks credible.
For photogrammetry, take overlapping photographs from several heights with consistent exposure where possible. For scanner workflows, follow the device’s calibration and capture guidance. Use a known physical reference dimension when scale is important.
From captured mesh to useful model
Separate visualization goals from manufacturing goals. A captured model might need hole filling, mesh cleanup, simplification, scale calibration or remodeling in CAD before printing.
The 3DA inspector can analyze supported OBJ/STL results for some geometry issues, but does not reconstruct an object from photographs or repair arbitrary scanned geometry. Record the capture setup and processing steps so another person can interpret your output.
Worked example
A photogrammetry model can reproduce the texture of a mug while leaving its unseen underside open. The texture quality does not make the geometry watertight.
Important limitation
Do not treat a photorealistic render as evidence of millimeter-scale accuracy. Measure physical reference features where tolerances matter.
Practical checklist
- Define the required accuracy
- Choose a suitable capture method
- Capture all required viewpoints
- Calibrate size
- Inspect holes and noise
- Repair or remodel for end use
Common questions
Do I need a dedicated scanner for photogrammetry?
No. Photogrammetry can use overlapping photographs from a compatible camera workflow.
Can a point cloud go straight to a slicer?
Usually it needs surface reconstruction or another modeling step first.
Capture methods compared
| Method | How | Strength | Weakness |
|---|---|---|---|
| Photogrammetry | Many overlapping photos | Cheap, colour texture | Needs texture; no real scale |
| Structured light | Projected patterns + camera | Accurate small objects | Struggles with dark/shiny surfaces |
| Laser / LiDAR | Measures distance with light | Real scale; rooms and buildings | Lower detail on small objects (phones) |
| CT scanning | X-ray slices | Captures interiors | Specialised equipment |
| Gaussian splats / NeRF | Learned scene representations | Photo-real viewing | Not meshes; must be converted to print |
Step-by-step instructions are in Photogrammetry with your phone.