Choose a modeling method by the decisions you need to control. A bracket needs useful dimensions. A character needs an expressive shape. A digital copy of an existing object begins with what you can capture. Those projects may all end as meshes, yet they need different starting points.
This is a practical comparison of four approaches. They overlap, and a finished asset may pass through several. For the basic vocabulary, start with what 3D means.
Compare the starting points
| Approach | Main control | Example starting task |
|---|---|---|
| Mesh modeling | Vertices, edges and faces | Shape a simple game prop |
| CAD and solid modeling | Dimensions, constraints and geometric operations | Design a box that must fit a space |
| Digital sculpting | Brush strokes across a surface | Develop a creature's head |
| Scanning or photogrammetry | Capture of an existing object | Record a small sculpture |
Mesh modeling: build the surface deliberately
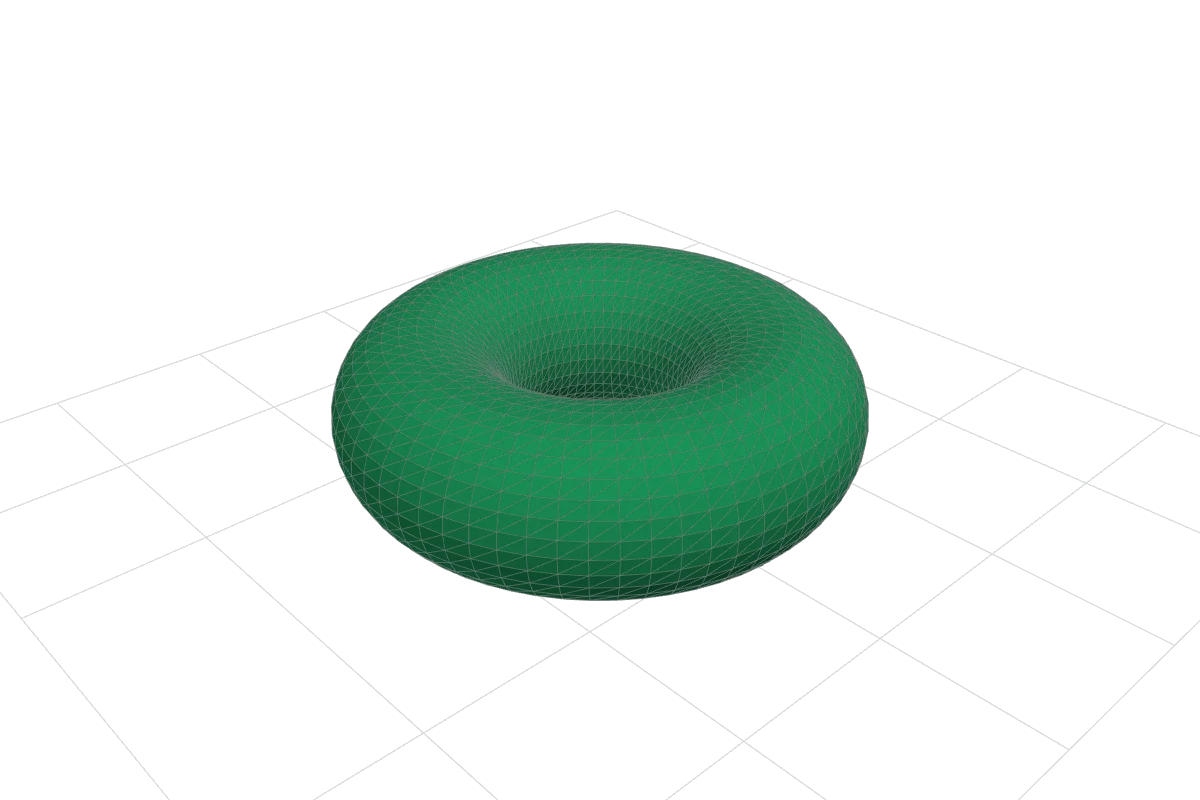
A polygon mesh connects vertices into edges and faces. Editing those elements gives direct control over the shape. You might start with a cube, extend a section, move a set of points and refine the silhouette. The pattern of connections is the mesh's topology.
This is a useful approach when the surface needs careful visual control. Ask what the object must do after modeling: appear in a still image, deform in animation, run in a real-time scene or become a print. A mesh that is convenient for one destination may need changes for another. More faces increase complexity; they do not automatically improve the intended result.
Use the cube and low-poly sphere in our original model library to compare a simple box surface with a faceted curved form. Wireframe in the viewer reveals their surface structure.
CAD: describe dimensions and relationships
CAD workflows are useful when a part's measurements and repeatable changes drive the design. A sketch can define a profile; operations such as extrusion create a body. Parameters and constraints can express relationships so a change remains manageable.
A solid body represents a closed volume, while a surface body describes surfaces. These are representations, not a rule that every CAD project must be a solid. Autodesk's body-type reference covers solid, surface and mesh bodies, among others. Its modeling-mode guide distinguishes a parametric timeline from direct modeling.
For a box, record the dimensions that matter and which changes should stay linked. Preserve the editable project before exporting an exchange file. A downstream mesh is useful geometry, but it is not a record of every sketch and design decision.
Sculpting: work across an area
Digital sculpting uses brushes to reshape a surface instead of asking you to select each vertex individually. The Blender sculpting reference describes that change in workflow. It suits a project where broad forms and local surface gestures are easier to judge visually than through a list of dimensions.
Begin with the silhouette and major proportions. Add detail when the form is clear. Plan the handoff early: a dense sculpt may need a different mesh or other preparation before it works well in a real-time scene or manufacturing workflow. The exact preparation depends on the destination, rather than a universal polygon target.
Capture: begin with something that exists
Scanning and photogrammetry obtain a starting model from an existing object. Photogrammetry uses overlapping images; Apple's Object Capture overview explains its use of matched landmarks across multiple viewpoints.
Capture does not settle every design question. Inspect missing areas, unwanted surroundings and scale. Decide whether you need a faithful visual record or an editable redesign. A captured shape may be an excellent reference while still requiring substantial work before it becomes a dimensioned part.
Make the next step small
Write a one-sentence brief: “I need a box with these dimensions,” or “I need a prop that looks right from the player's view.” Choose one method that makes that requirement easy to verify. Then create a simple version and reopen its export in the receiving application.
Our first-model exercise begins with a dimensioned box. When you are ready to move a model between tools, use the file-format comparison to choose what to export.