Check geometric identity
Confirm that you have a model file and not merely a raster image or rendered view. Record its format and whether it includes a single mesh, multiple disconnected parts, a complete scene or a manufacturing package. OBJ and STL encode surface geometry; GLB can contain richer scene data. 3MF is structured for manufacturing workflows and may include more information than just geometry.
Check the entire bounding box: width, depth and height in intended units. The 3DA units tool is a way to identify an obvious 25.4× inch/millimeter mismatch before it costs material.
Check the actual mesh
For a normal solid print, look for closed surfaces, reasonable winding, no duplicate faces or collapsed triangles, no unexpected isolated components and no open boundaries. The browser inspector reports several of these conditions for supported local OBJ/STL files.
Closed edges alone cannot certify vertex manifoldness or absence of self-intersections. A file may pass a few mesh tests and still contain problem geometry. Treat an inspector as screening, not certification.
Check physical feasibility in the slicer
Confirm the model lies within the build volume in an acceptable orientation. Evaluate narrow walls against your actual nozzle or process resolution, overhangs against your printer/material, and supports against surface finish and removal constraints.
Finally, examine layer preview from bottom to top for unexpected floating regions, empty cavities, tiny isolated features or missing walls. Supports, brims and rafts also occupy space that a simple geometric fit test does not measure.
Worked example
A 20 × 30 × 40 mm block fits inside a 220 × 220 × 250 mm build volume in multiple axis-aligned orientations, but the calculation says nothing about supports or whether the slicer applies an unwanted scale.
Important limitation
A green check in one geometry analyzer is not a substitute for slicer preview, printer limits and a physical trial.
Practical checklist
- File opens in the destination software
- Correct unit scale
- Expected X/Y/Z extents
- No unintended loose components
- No obvious open boundaries
- Normals/winding reviewed
- Wall thickness appropriate
- Build volume fits
- Overhangs/supports reviewed
- Layer preview inspected
Common questions
Why is my file huge?
Excessive triangle count, textures or embedded scene information may increase size; large alone does not mean higher quality.
Can the inspector repair my file?
The Studio diagnoses meshes and fixes simple problems — inside-out shells, duplicate faces, orientation and scale — but it does not fill holes or remove self-intersections.
Primary references
External specifications provide format or process context; the examples and calculations here are original 3DA explanations.
The checklist as a workflow
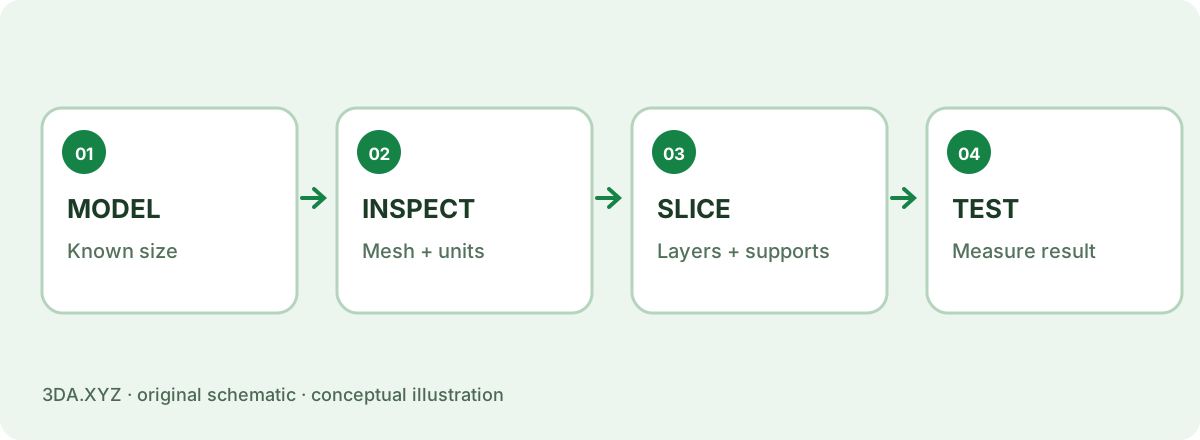
- Open the file in the 3D Studio: it covers size, units, open edges, non-manifold edges, inside-out shells, duplicate faces and shell count in one pass.
- Fix units or orientation there (Scale, Rotate, Place on bed) and export 3MF so the unit travels with the file.
- Repair holes or intersections in a modeler if the report says so (Mesh repair).
- Slice, then scrub through the layer preview for gaps, floating islands and missing walls.
- Check estimated weight and time; price it with the cost calculator.
Check your understanding
1. Why export 3MF after fixing units?
STL has no unit field.